
Here is my tutorial:
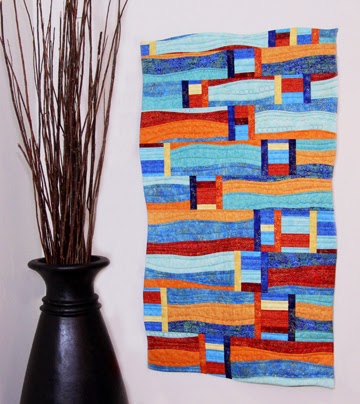
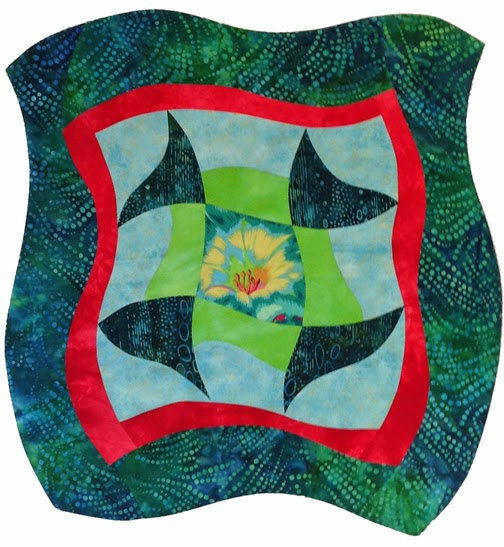
Make a quilt with a curved edge - you could make a quilt with a wide border and then cut the curved edges 'freehand'. This is what I did for my pattern Ebb Tide:
On a flat surface pin the quilt top (right side up) to a piece of batting at least 1" larger than the quilt on all sides. Pin every 1-1/2 to 2 inches (closeup).

Sew the quilt to the batting around all edges with a SCANT 1/4 inch seam. Use your walking foot for this step and choose thread that CONTRASTS with the batting.

Trim excess batting, leaving approximately 1/2 inch all around the quilt top.

Prepare the quilt backing. You will need backing that is 2 inches wider and 5 inches longer than the batting. Trim a 4 inch strip from one end of the backing.
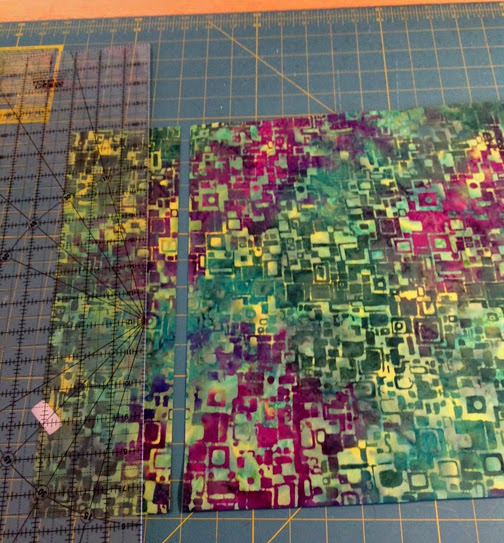
Sew the strip back onto the remaining piece with a 1/2 inch seam, leaving a 5 inch opening in the middle of the seam. Press the seam to one side.

Sew 1/8 inch inside the first stitching using your walking foot.

Sew across the corners; I stitch 3 stitches across the corner. This will help you have sharp corners when the quilt is turned right side out.

Trim the excess batting and backing, leaving a 1/4 inch all around the second stitching. Trim across the corners to reduce bulk.

From the backing side, carefully press one layer of the seam toward the backing.

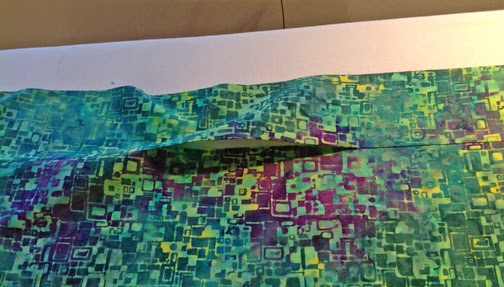
Turn the quilt right side out through opening in the backing. Use your fingers to turn the corners out as best you can. Don't use a sharp tool to turn the corners; you might push right through the stitching!
Thread a needle with a long thread until you have it doubled. Do not tie a knot. Feed the needle across the corner taking a fairly large 'bite' of the fabric.

Carefully pull on the threads to pull the corner out. Do this gently, just until the corner is sharp.

Press all around the edges; I like to do this from the wrong side. Slipstitch the opening closed and admire your beautifully curved edge!
You now know how to make a great curved edge for YOUR next quilt!
2 comments:
I have never seen this way of doing the backing and binding in one, thanks!
Haven't done my President's challenge yet, so I'm going to design it so that I can try this! Thanks.
Post a Comment